.svg "SpotDevLogoOrange (2)")
Over the last two years or so, Google Tag Manager (GTM) has become an increasingly important part of our marketing efforts here at SpotDev. As a result, I’ve written a few articles on the subject such as my beginner’s guide to GTM, the benefits of implementing the system and an article for Advanced Web Ranking on how to track a user’s scroll depth on your website.
In two of those articles I’ve explained how, instead of inserting your Google Analytics (GA) property ID every time, you can use a variable that will populate it instead. That way you only have to put your property ID in once and GTM will insert it on your behalf. Using this method, you can also dynamically change the ID based on certain inputs, such as your website’s hostname (more commonly referred to as the domain name).
Before we jump into how to set this up it’ll be useful to provide a whistlestop tour of the main elements of Google’s tag management platform: tags, triggers, variables and the data layer.
Tags, Triggers, Variables and the Data Layer
One of the main selling points of tag management systems is the ability to allow those less (or unfamiliar) with coding to deploy code snippets on websites or mobile apps. Most of the time, these tags are third-party tools that allow reporting, analysis and tracking. The problem is that marketers often have to get in touch with their web development or IT team to install these code snippets. With tag management, this can (usually!) all be done by someone who has little experience with HTML.
GTM has a number of different components that we need to get our head around before diving in. These are tags, triggers, variables and the data layer. I’ve given some definitions of these below:
- Tags - a block of code - usually JavaScript - that performs a given action on your website;
- Triggers - rules that you set in order to fire your tags. Tags are fired on events, such as a page load or button click. Triggers are attached to tags and that specifies when a tag should fire;
- Variables - assist in defining triggers and what data they send. An example of a variable could be a webpage’s URL or the ID of an HTML element;
- Data layer - probably the most intimidating element of GTM, the data layer is a JavaScript object that contains information that you wish to send to GTM. The idea of a data layer is that it sits in the middle of the tag management system and the website in order for you to pass data between the two. There’s a very good guide on data layers over on the Data Layer Doctor website.
Now we have a good understanding of the main components of GTM, I’ll talk about the problem that many marketing, analytics and web professionals face.
Data Accuracy
Data accuracy is a real pain in the back side. In theory, it should be pretty simple, but with so many people potentially influencing websites it’s easy for you data to become muddled.
From blocking spam, through to payment gateway referrals and AdWords data discrepancies, there’s lots of opportunities to get your data mixed up. The issue that this implementation solves is that of your development or staging URLs sessions becoming mixed in with your live website’s data.
During the development process of a website you should look to start implementing your GA implementation on the staging version of your website. This enables you to instruct different GA IDs to load depending on whether it’s the live or staging version of your website.
Before you begin, it’s important to ensure you’ve created a separate GA property ID for all the staging or development environments. If you’ve not done this then you’ll have to come back to GA in order to action this later on in the tutorial.
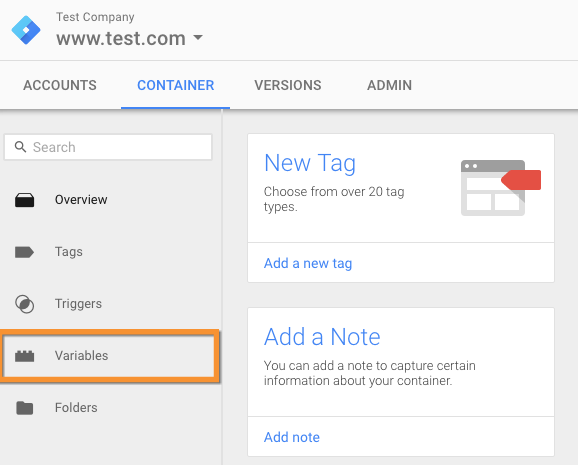
Creating the Variable
This solution creates a variable using a lookup table. Similar to the LOOKUP function in Microsoft Excel, we specify what we want Tag Manager to find, and it then delivers an output depending on what it can locate. In order to action this, head over to the ‘Variables’ section within GTM:
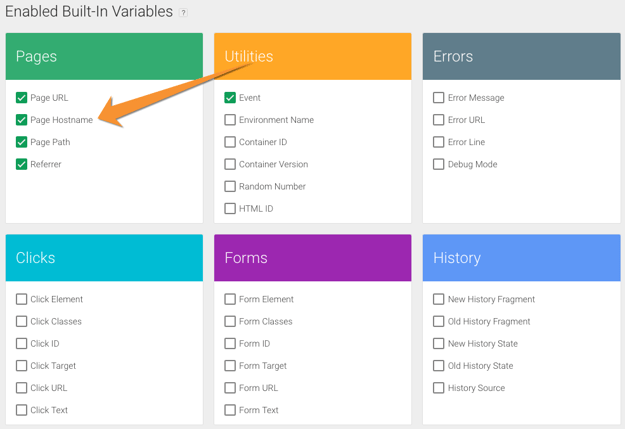
Ensure ‘Page Hostname’ is checked:
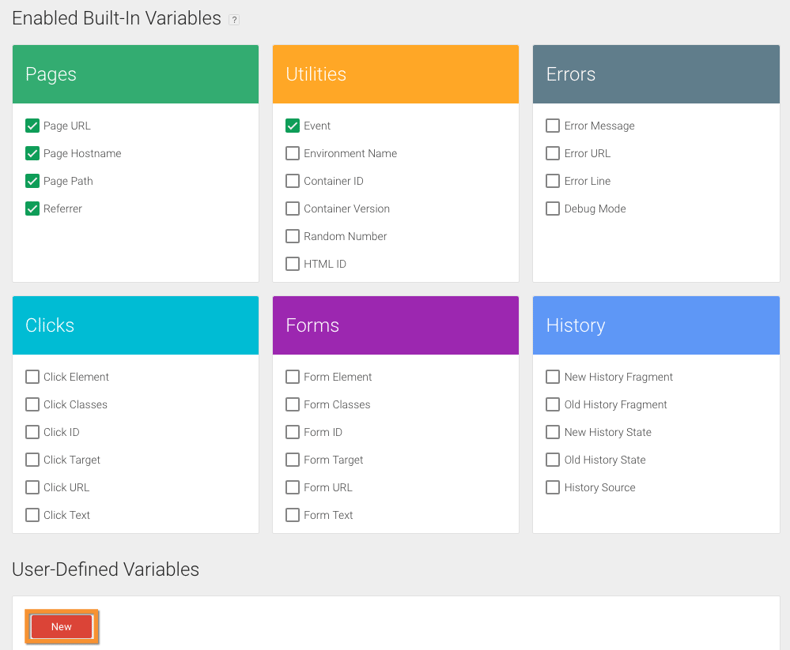
Click ‘New’ towards the bottom of the page:
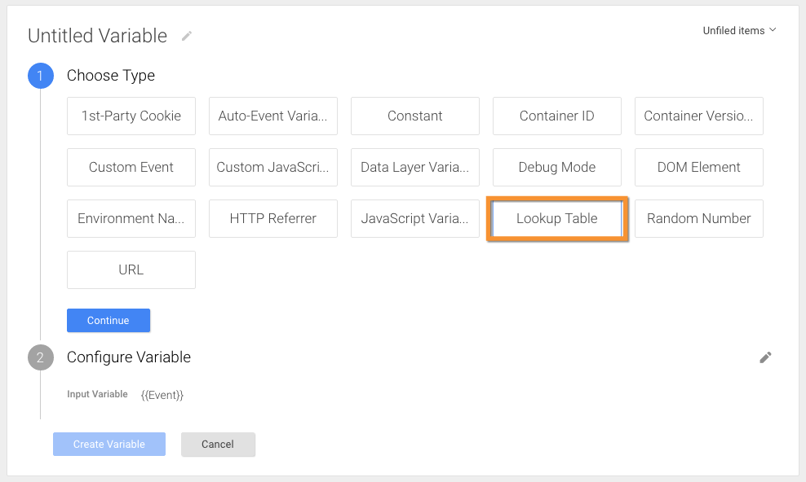
Choose ‘Lookup Table’ from the options:
Choose ‘’ from the ‘Input Variable’ options:

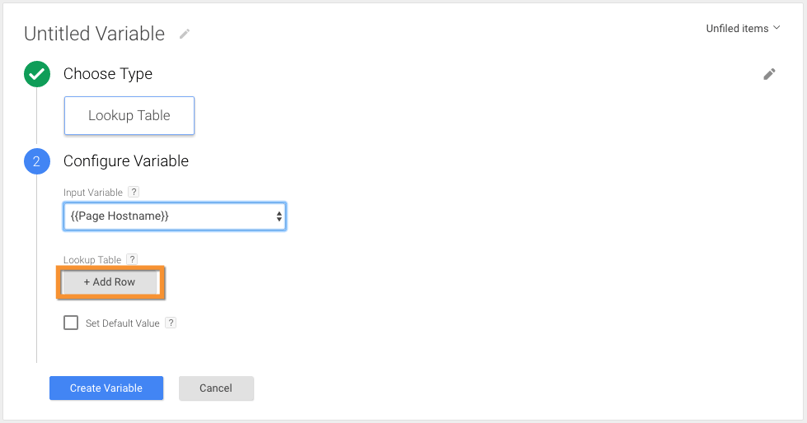
Click ‘+ Add Row’:
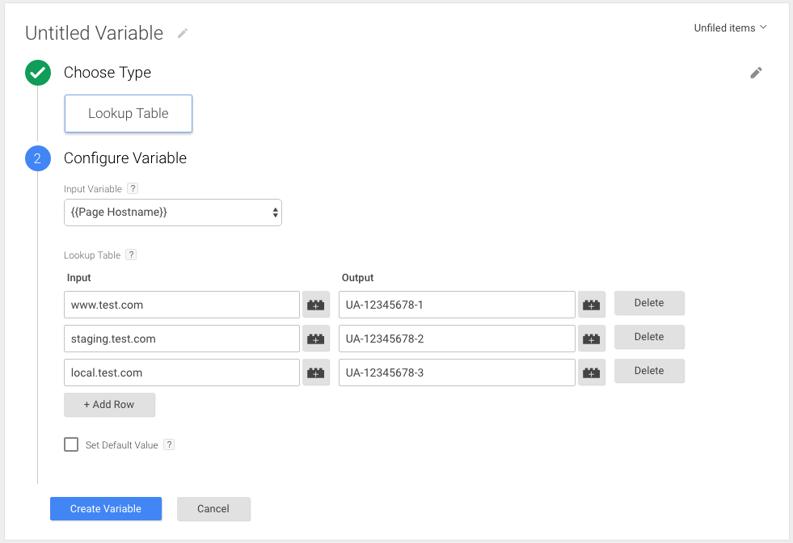
You can then add your hostnames into the appropriate input row and your GA property IDs into the applicable output row:
After that’s complete, ensure you give the variable an appropriate name such as ‘Dynamic GA Property ID’. You can then click ‘Create Variable’ to save your progress.
Referencing the Google Analytics Variable
You can then go back over your previous tags, and replace the static property ID you previously used, with the dynamic one you have just generated:
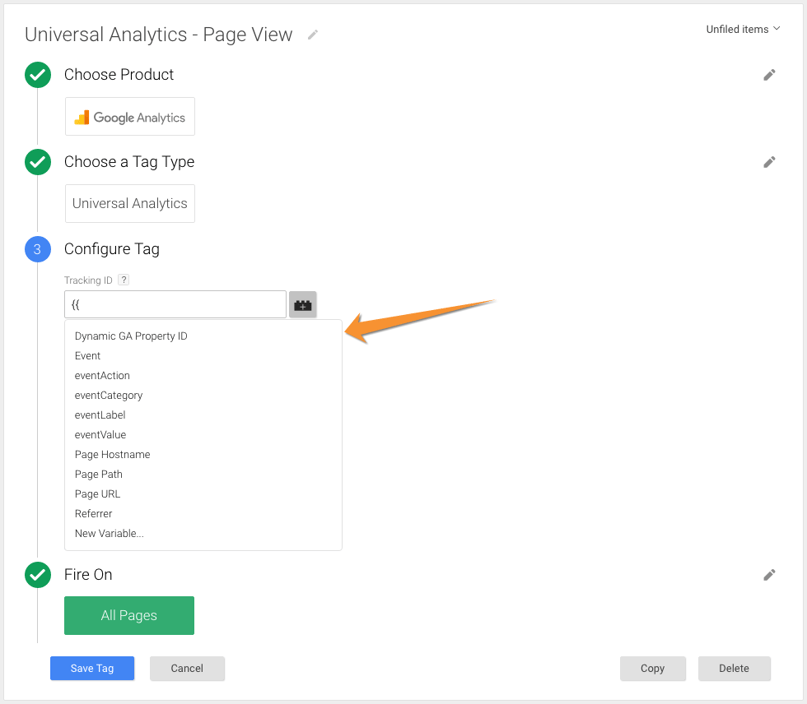
Make sure you delete the old characters that were in the text entry box, otherwise you’ll find more information than you require populating the field - causing likely bugs with your installation.
That’s all there is to it! Of course you should do your due diligence and use preview mode to test things are working as you expected them to, but there should be no further implementation required.
There is another way that you can ensure data accuracy by using what is called ‘Environments’, whereby you publish your version of Tag Manager to different containers, but we’ll save that for another tutorial.
As always, if you have any questions, feel free to reach out to me on Twitter or leave a comment below.
Our content includes affiliate links. This means that we may receive a commission if you make a purchase through one of the links on our website. This will be at no cost to you and helps to fund the content creation work on our website.