.svg "SpotDevLogoOrange (2)")
If you’ve been using the LinkedIn advertising platform you will have been able to see how many impressions those ads have had, the number of clicks, how much you’ve spent per click as well as a number of other important metrics for identifying how well those ads are performing.
That’s all well and good, but what LinkedIn’s Campaign Planner doesn’t tell you is whether or not those clicks are converting once they arrive at your website.
This is where conversion tracking comes in.
In this blog post we’re going to look at adding a LinkedIn tracking pixel to your website using Google Tag Manager, so if you’ve no experience with GTM and don’t know how to set it up, check out our Google Tag Manager beginner’s guide to get started.
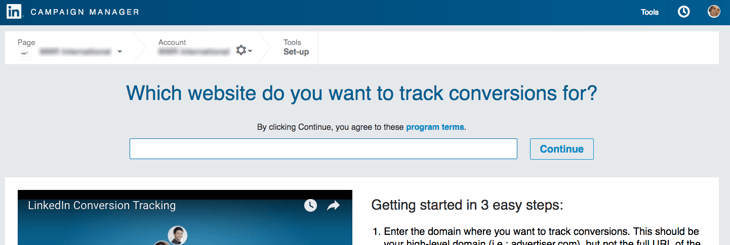
First of all, open up LinkedIn Campaign Manager and navigate to ‘Conversion Tracking’ in the top right-hand corner.![]()
If this is the first time you’re accessing LinkedIn’s conversion tracking you will first have to enter the domain you wish to set tracking up for.
You will then be presented with the following screen, asking you to install the insight tag.
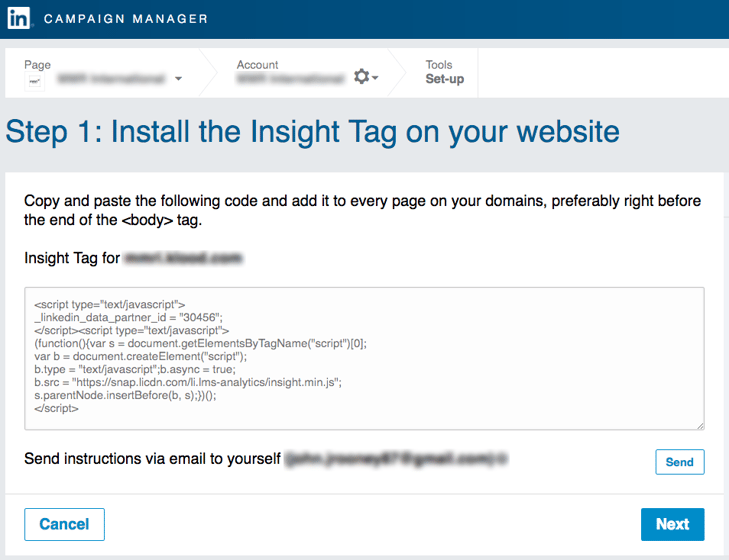
However for the purposes of this guide, we'll come back to this and instead click 'Next' to progress to step two, where you create your first conversion.
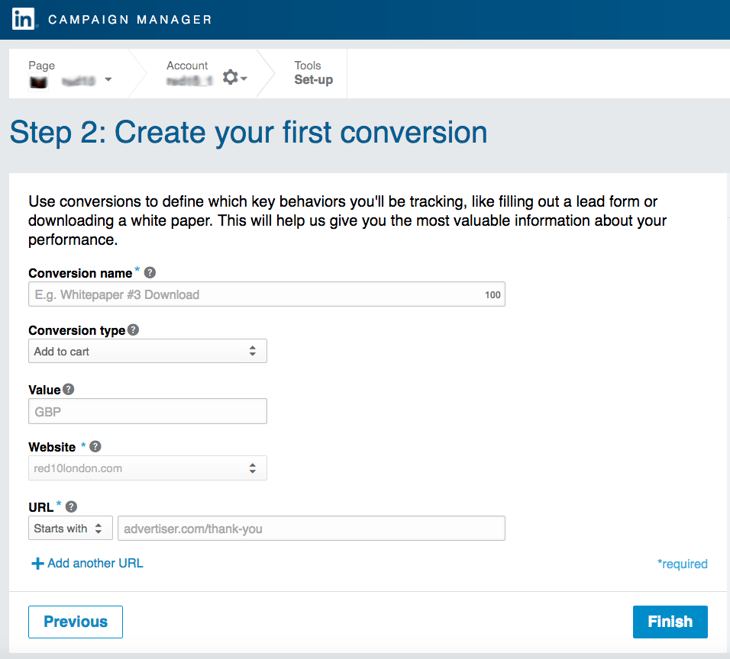
You now have to define the new conversion you wish to track. This includes:
- the name of the conversion;
- the conversion type (which can be changed via the dropdown);
- the conversion’s value, for example how much you’re willing to pay for a lead or other conversion type;
- the domain of the website; and
- The URL of the destination page (either ‘Exact’ or ‘Starts with’) where you want to count a visit as a conversion event. This might be a thank you page following a form fill or a download such as www.example.com/form-thank-you.
Once you’ve set up this conversion, let's add that LinkedIn tracking pixel to your website. First, open up your GTM dashboard and select ‘Add a New Tag’.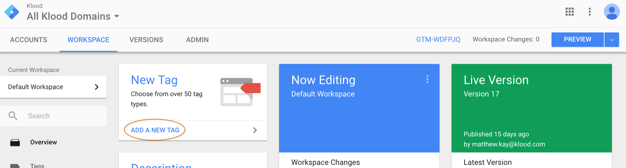
Give your new tag a name, and then select ‘Tag Configuration’.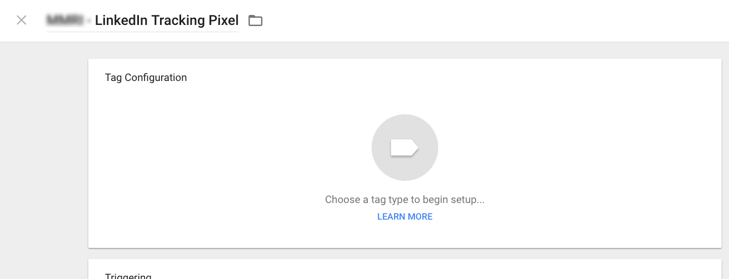
Now, select the ‘LinkedIn Insight’ tag type from the list. You can find it using the search function in the top right-hand corner.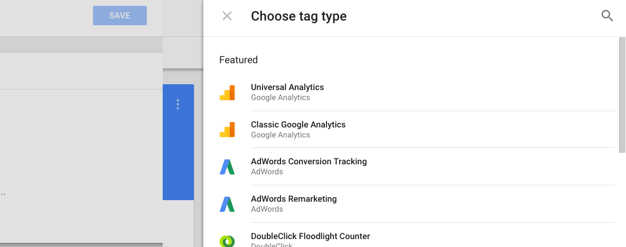
When you select the ‘LinkedIn Insight’ tag you’ll need to input the ‘Partner ID’. This is what identifies your LinkedIn account to GTM. To find it, switch back to LinkedIn Campaign Manager and click ‘View insight tag’ in the right-hand corner of the conversion tracking page.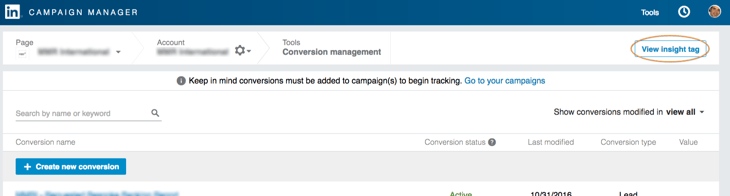
You will then be presented with the insights tag that we saw earlier. Without GTM you would need to copy and paste it onto every page you wished to fire the trigger on. However for our purposes we only need to extract the partner ID: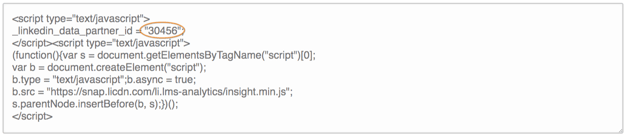
Copy this ID and paste it into the relevant field.
You now need to set up the trigger for this particular tag.
After you’ve clicked on the ‘Triggering’ box you’ll have the choice between selecting from the list of your previously made triggers and creating a new one. Let’s assume you want to create a new trigger for this tag. First, click on the plus icon in the top right-hand corner and then click on ‘Trigger Configuration’.
Now, choose your trigger type from the list.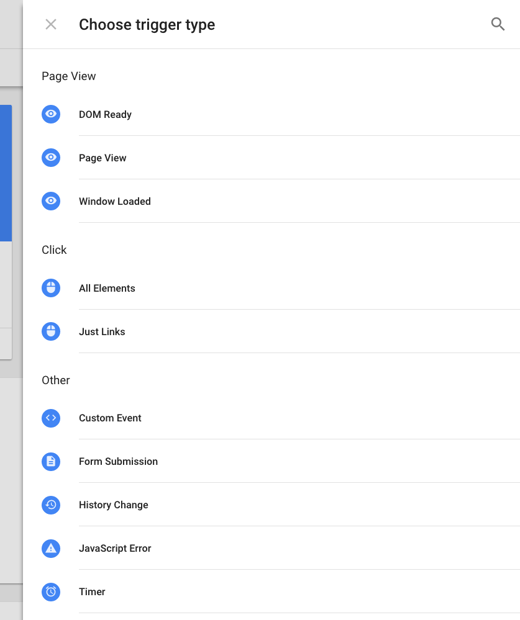
For this example, let’s choose ‘Page View’ as our trigger.
You can now choose between the trigger firing on all page views or only some of them. If you choose to only fire the trigger on some page views, you can define the conditions based on these variables: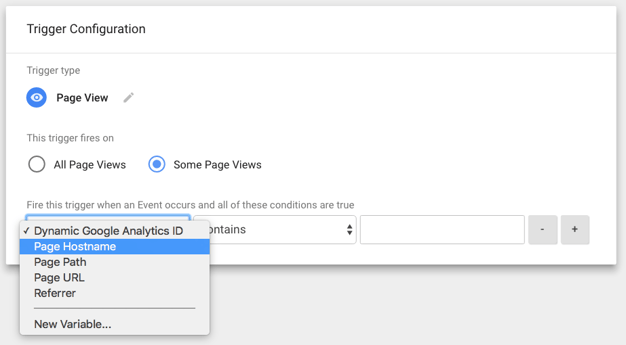
Finally, save the trigger and then the tag. This will add the new tag onto your website.
To test that the tag has been applied, click ‘Preview’ in the Google Tag Manager dashboard. This will enable preview mode.
In a new tab, navigate to the website you’ve set the tag up on and at the bottom of the screen there should be a pane that shows which tags are firing.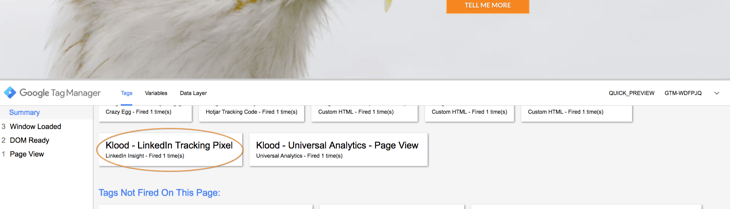
You should see the name of your new tag in this pane. If it’s not appearing, go back over this article and make sure you’ve set up the tag and trigger correctly.
That should be it. Unfortunately, LinkedIn doesn’t have the ability to filter our conversions by IP address yet so you don’t get internal traffic, so try not to visit your ‘thank you’ URL more than once as a test.
Our content includes affiliate links. This means that we may receive a commission if you make a purchase through one of the links on our website. This will be at no cost to you and helps to fund the content creation work on our website.