.svg "SpotDevLogoOrange (2)")
In the latest in our series of WordPress ‘How to’ guides we take a look at how to add custom post types, for example if you want to be upload posts specific to events, promotions or anything else relevant to your business.
By default. WordPress allows you to add the following post types:
- Posts;
- Pages;
- Attachments;
- Revisions;
- Navigation menus.
First thing’s first though, we need to download and install the Custom Post Type UI plugin.
Installing the plugin
From the main dashboard, navigate to the ‘Plugins’ section located in the left-hand navigation bar.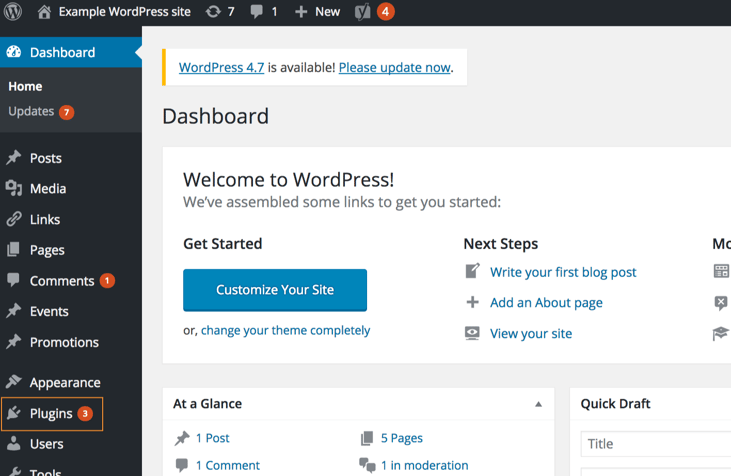
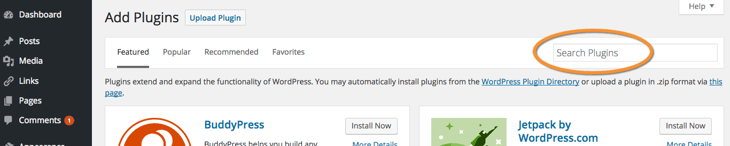
Click ‘Add New’ at the top of the screen.

Now, search for ‘Custom Post Type UI’ via the search bar in the top right-hand corner of the screen.
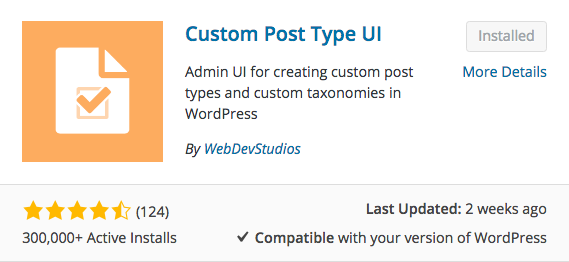
You’ll be presented with a number of different search results, but the plugin we want should be the top left-hand result. Click ‘Install Now’ below the plugin name (note that in this screenshot the plugin is already installed).
Once the plugin has been installed, navigate to the ‘Installed Plugins’ screen.
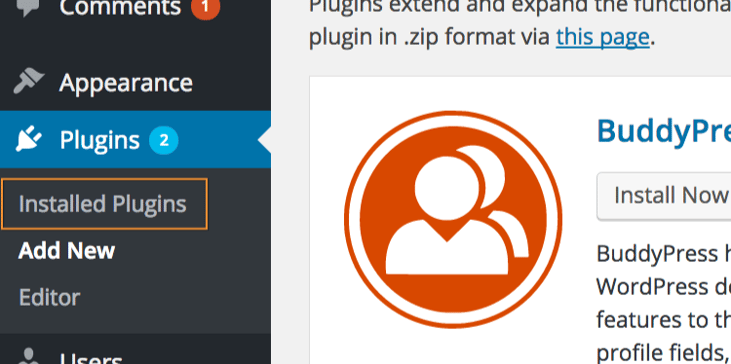
Now click ‘Activate’ within the Custom Post Type UI box.

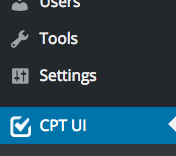
Once activated, you’ll see that ‘CPT UI’ is now an option in the left-hand navigation menu.
Adding new custom post types
There is some advanced functionality when it comes to adding new custom post types that you might need the help of a developer to make use of, but for the purposes of this guide we’ll look at how to add a basic new post type.First, click on ‘CPT UI’ in the nav to go through to the ‘Manage Post Types’ screen.
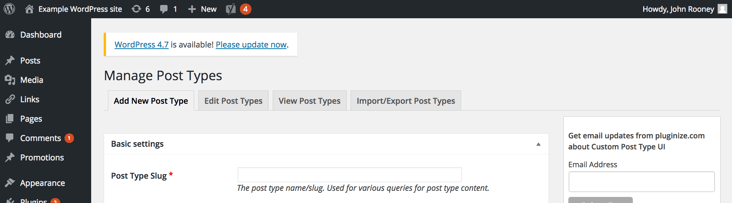
To create your first custom post type, simply enter the post type slug (the URL extension for this particular post type), as well as plural and singular labels.
As an example, let’s say we wanted to create a CPT for ‘Events’.
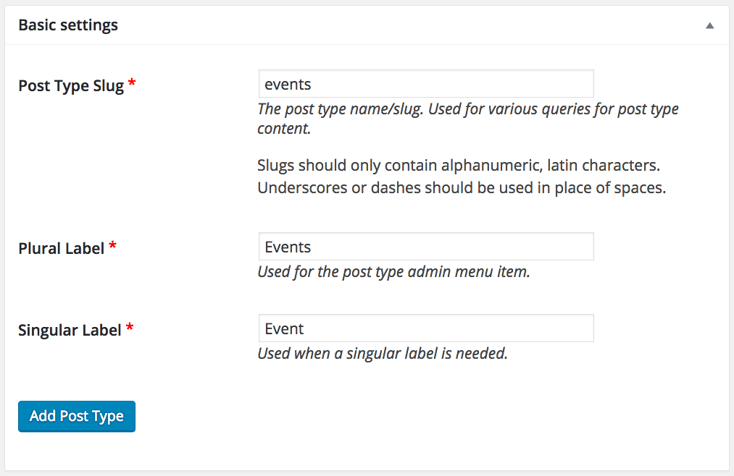
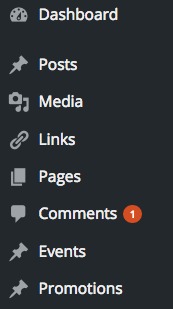
These are the three required fields for creating a new post type. Click ‘Add Post Type’ to add the option to the left-hand nav.
There are further optional labels you can apply to custom post types. To add them, navigate back to the ‘Manage Post Types’ section and click on the ‘Edit Post Types’ tab at the top of the screen. Then, choose ‘Events’ from the drop-down menu. If you’re looking to add the first and/or only CPT you’ve created, that CPT will be displayed by default anyway.
Scroll down to below the ‘Basic Settings’ and you’ll see all of the additional labels you can add, which include:
- A description;
- ‘Add New’ and ‘Edit Item’ labels;
- a ‘Search Item’ label;
- a ‘Featured Image’ label;
- and more.
Once you’ve finished editing your post type, scroll to the bottom of the screen and hit ‘Save Post Type’.
To ensure the content displays correctly you may need to create a template for each custom post type — otherwise it will look like any other post. You’ll probably need the help of a developer to do this
And that’s all there is to it! If you’d like to find out more about using WordPress why not check out our beginner’s guide? You can download it for free by following the link below.
Our content includes affiliate links. This means that we may receive a commission if you make a purchase through one of the links on our website. This will be at no cost to you and helps to fund the content creation work on our website.