.svg "SpotDevLogoOrange (2)")
You’ve heard all the hype around using video content, and you’re ready to jump on board. But how exactly is an animated explainer video made and what does the process entail?
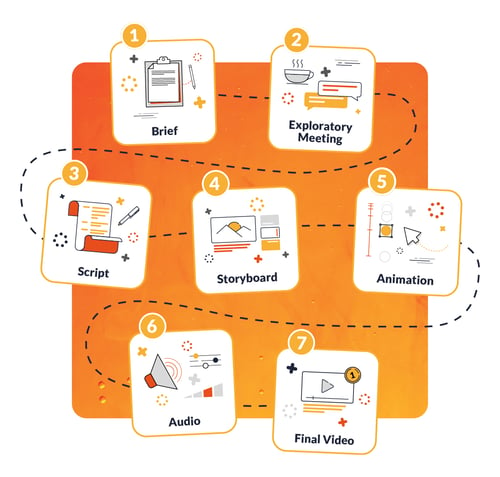
At SpotDev, we have a clear, cost-effective, time-sensitive action plan that is infused with creativity. Here are the stages that we go through:
Brief
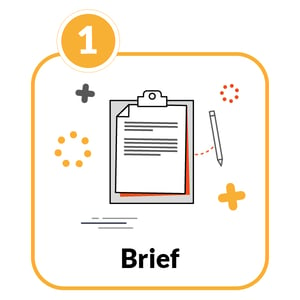
So, let’s begin at the beginning. The first thing we ask our clients to do is fill in some paperwork. Not the height of creativity but seriously, it’s important not to lose sight of exactly why you’re creating this video. Our brief runs through those pragmatic things like, who’s your video aimed at? Where’s it going to live? Oh, and what’s your actual aim with this video?
That last one’s kind of important. You might just be creating something eye-catching for social media to enhance your brand awareness. Or, you could be looking to create something really informative for existing customers. Either way, we need to know exactly what our target is as this will have an impact on every other stage of the process. We also like to get some of your key messaging here too. We want this video to fit in with everything you’ve done before it, so it’s important that we continue that consistency across your brand.
Exploratory Meeting
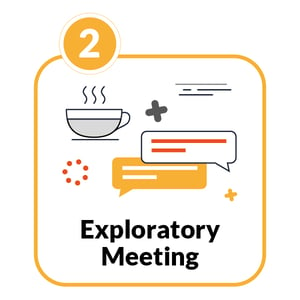
We then like to have a face-to-face meeting (or a Zoom call, if that works better) to get to know you and your company. We love collaborating with our clients; this ensures that the videos we create align with everyone's expectations.
The relationships we build are essential to the success of a project. In the meeting, we’ll run through the brief you’ve filled out, show you some examples of what we’ve done previously and what we can do for you. This helps us to gauge your opinion on everything, from visual styles to scripts to locations your videos could live. We find that a cup of tea and a friendly chat is a great way to kick off the video production and ensure we’re all on the same page.
Style
Now we can start to get a bit more creative. We’re going to choose the style of video you want to create. There’s a lot to consider here, far more than what looks pretty. You need to pick a style that fits with your brand and allows you to explain your service clearly. Furthermore, you need to grab the attention of your buyer personas. And sure, it needs to look great.
There’s always going to be an element of personal preference here. You might be a big fan of 3D animation; you want the high-end, classy aesthetic that it offers. However, if your website and social media are flooded with cool-looking, icon-heavy graphics, that’s probably the way to go. Here at SpotDev, we separate our styles into three clear distinctions:
- 2D motion graphics
- 2D character animation
- 3D motion graphics
For more information on that, check out this blog here that takes a deep dive into their distinctions - Finding the right style for your explainer video
Script
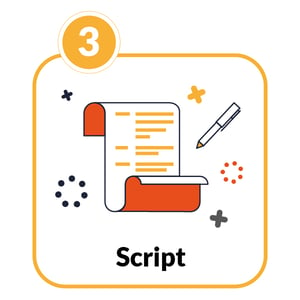
Writing the script can take place whilst deciding upon your style. Writing a script is a complex and difficult process; the key is to keep it simple. Always remember who it is that you’re speaking to and the kind of language they respond to. Short and snappy is always effective. Don’t lose the focus on your target; ensure that you feature a clear call-to-action telling the viewer what it is you want them to do. If it’s to download an eBook, make sure you tell them to download the eBook; if it’s to click through to your website, tell them that.
An explainer video is a fantastic tool for educating leads, but you can also use it to guide viewers down your marketing funnel. At SpotDev, we like to keep the scriptwriting collaborative. You know your product or service far better than we do, so we like our clients to have a go at writing the first draft. We'll review it, work some wording wizardry, and synthesize something concise and compelling for your target audience.
Storyboard

Now we know exactly what we’re saying, it’s time to figure out the visuals we’re going to align with it. Before we spend ages on a storyboard, we’ll offer you a few style frames. These are a few individual frames from your video with differentiations on colour, imagery, textures etc. You then pick your favourite, giving you more control over exactly what your video is going to look like. The number of style frames we offer depends on the package you opt for.
The storyboarding phase is where the video really begins to take shape; however, it can vary dramatically depending upon the style you choose. If you’re creating a 2D motion graphics animation, this is the step of the process where we create all of the final graphics. For each scene, we produce the visual assets that we need at this stage, so everything you see on your storyboard is what your final animation will look like, all aligned with the text from your script.
Alternatively, if we’re making you a 3D animation, the storyboard is usually a series of sketches to indicate what will be happening on the screen and when. We then produce assets afterwards, as 3D modelling can often be a long and complex process. It’s important to know exactly what needs making, so no time is wasted creating assets we don’t use.
With the storyboard all created, we’ll export it as a PDF and send it over to you. Now is the time to give feedback on anything you’re uncertain about in regards to the visuals. We’ll get everything amended and polished to a point where you’re happy to sign off before we move onto the next step of our process.
Animation
Animation is often the longest step of the process; it’s a fiddly, complex task, but it’s the stage where we breathe life into the designs we’ve created for you. We strive to create animations that draw the audiences eye and then retain it, all the while explaining your service in a concise way. Depending on the style you’ve opted for, the way in which we build our animations vary.
If you’ve gone for a simple icon-based animation, we’ll use a software called After Effects to create interesting transitions and line animations to make your icons even more visually stunning. If you choose character animation then we’ll take your characters and create a rig (a skeleton inside the character) to animate – just like a wire armature inside the clay models used by Aardman (think Wallace and Gromit). If you’ve gone for 3D animation then we’ll be animating inside our 3D software package, Cinema 4D. This requires using digital cameras, setting up lighting and, once the animation’s all done, a process called rendering, where the computer processes every individual frame of your explainer.
By the end of the animation process, you’ve got all of the visuals for your animation and, of course, you have the opportunity to give feedback on any changes you might like. It’s your video that we’re making and we want to be sure that you’re completely happy with it. We offer two rounds of amends with all of our explainer packages. Ensure that you communicate your feedback clearly to help us deliver exactly what you're after.
Audio
With the visuals done, it’s time to turn our attention to how your video’s going to sound. We want it to be the complete audiovisual experience, and often the sound is just as important to explaining your product as the visuals.
Up until now, we’ll have been working to something we call a ‘scratch VO’ – a stand-in voice over that we’ve recorded in house. This allows us to get timings down while animating and we might have a watermarked music track in the background. Now is the time to make those professional. This is included in the cost of our animated explainer videos. We’ll give you a few options of voice over artists to choose from and some music; then, once you’ve made your choice, we’ll get them recorded and purchased. After some basic timing tweaks to the animation and some additional sound effects, your video is about done.
Now’s your final round of amends, get everyone together and decide on any final changes you might want to make. We’ll review and address everything you’ve raised so that your finished video reflects exactly what we set out in the brief all those weeks ago.
Final Video
With all of the technical production stuff done, it’s time to get your video exported in a neat HD file, ready for you to use on your website, social media, in presentations or on stands.
You'll now have a fantastic piece of media to share with the world, enabling you to educate your target audience more effectively and enjoy a stream of high-quality leads.
Our content includes affiliate links. This means that we may receive a commission if you make a purchase through one of the links on our website. This will be at no cost to you and helps to fund the content creation work on our website.